Adobe Photoshop
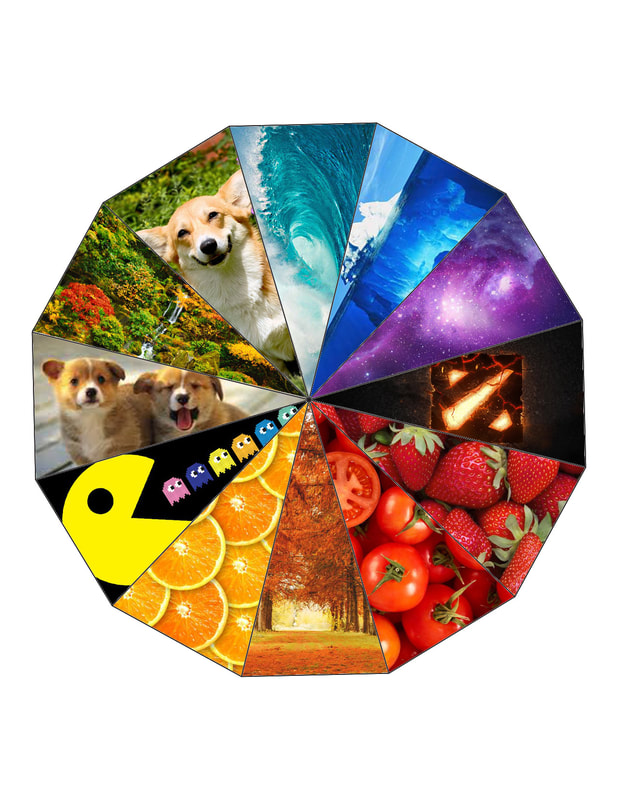
Color WheelThis was the first project of the year. We were given a template that was made up of 12 separate triangles and tasked with filling each one of them with a picture of our choosing. It could be something that represents us as a person, or just simply something we found interesting or cool. To do this, we made selections from each triangle. After that, we formatted each picture so that it filled the triangle like we wanted. We then finally made selections of each image using the previously created selections. This process created the image to the left. If I had to do this again, I would recreate the template so it was aligned better.
|
|
|
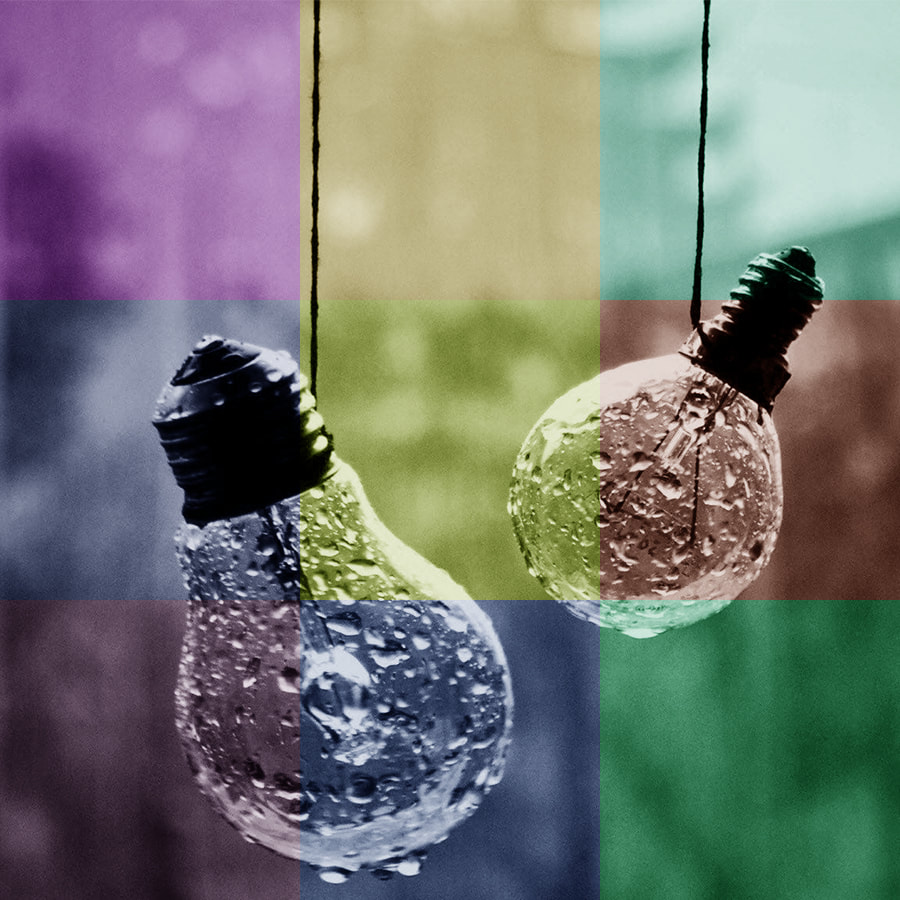
3x3 Color MaskingTo start this project, we first picked out an image that was in black and white that we thought looked interesting. The next step was to import that image into Photoshop and set up two evenly spaced guides on each axis, dividing the image into ninths. From here, we created nine separate selections that we then went back and selected and applied a color overlay to each section. This simply added a different color to each section, which gives it a really cool effect when it is completed. I messed up a couple times during this project. I would forget to apply the color overlay to just the selection and would instead apply it to the whole layer. This was easily fixed, but it was frustrating at the time.
|
